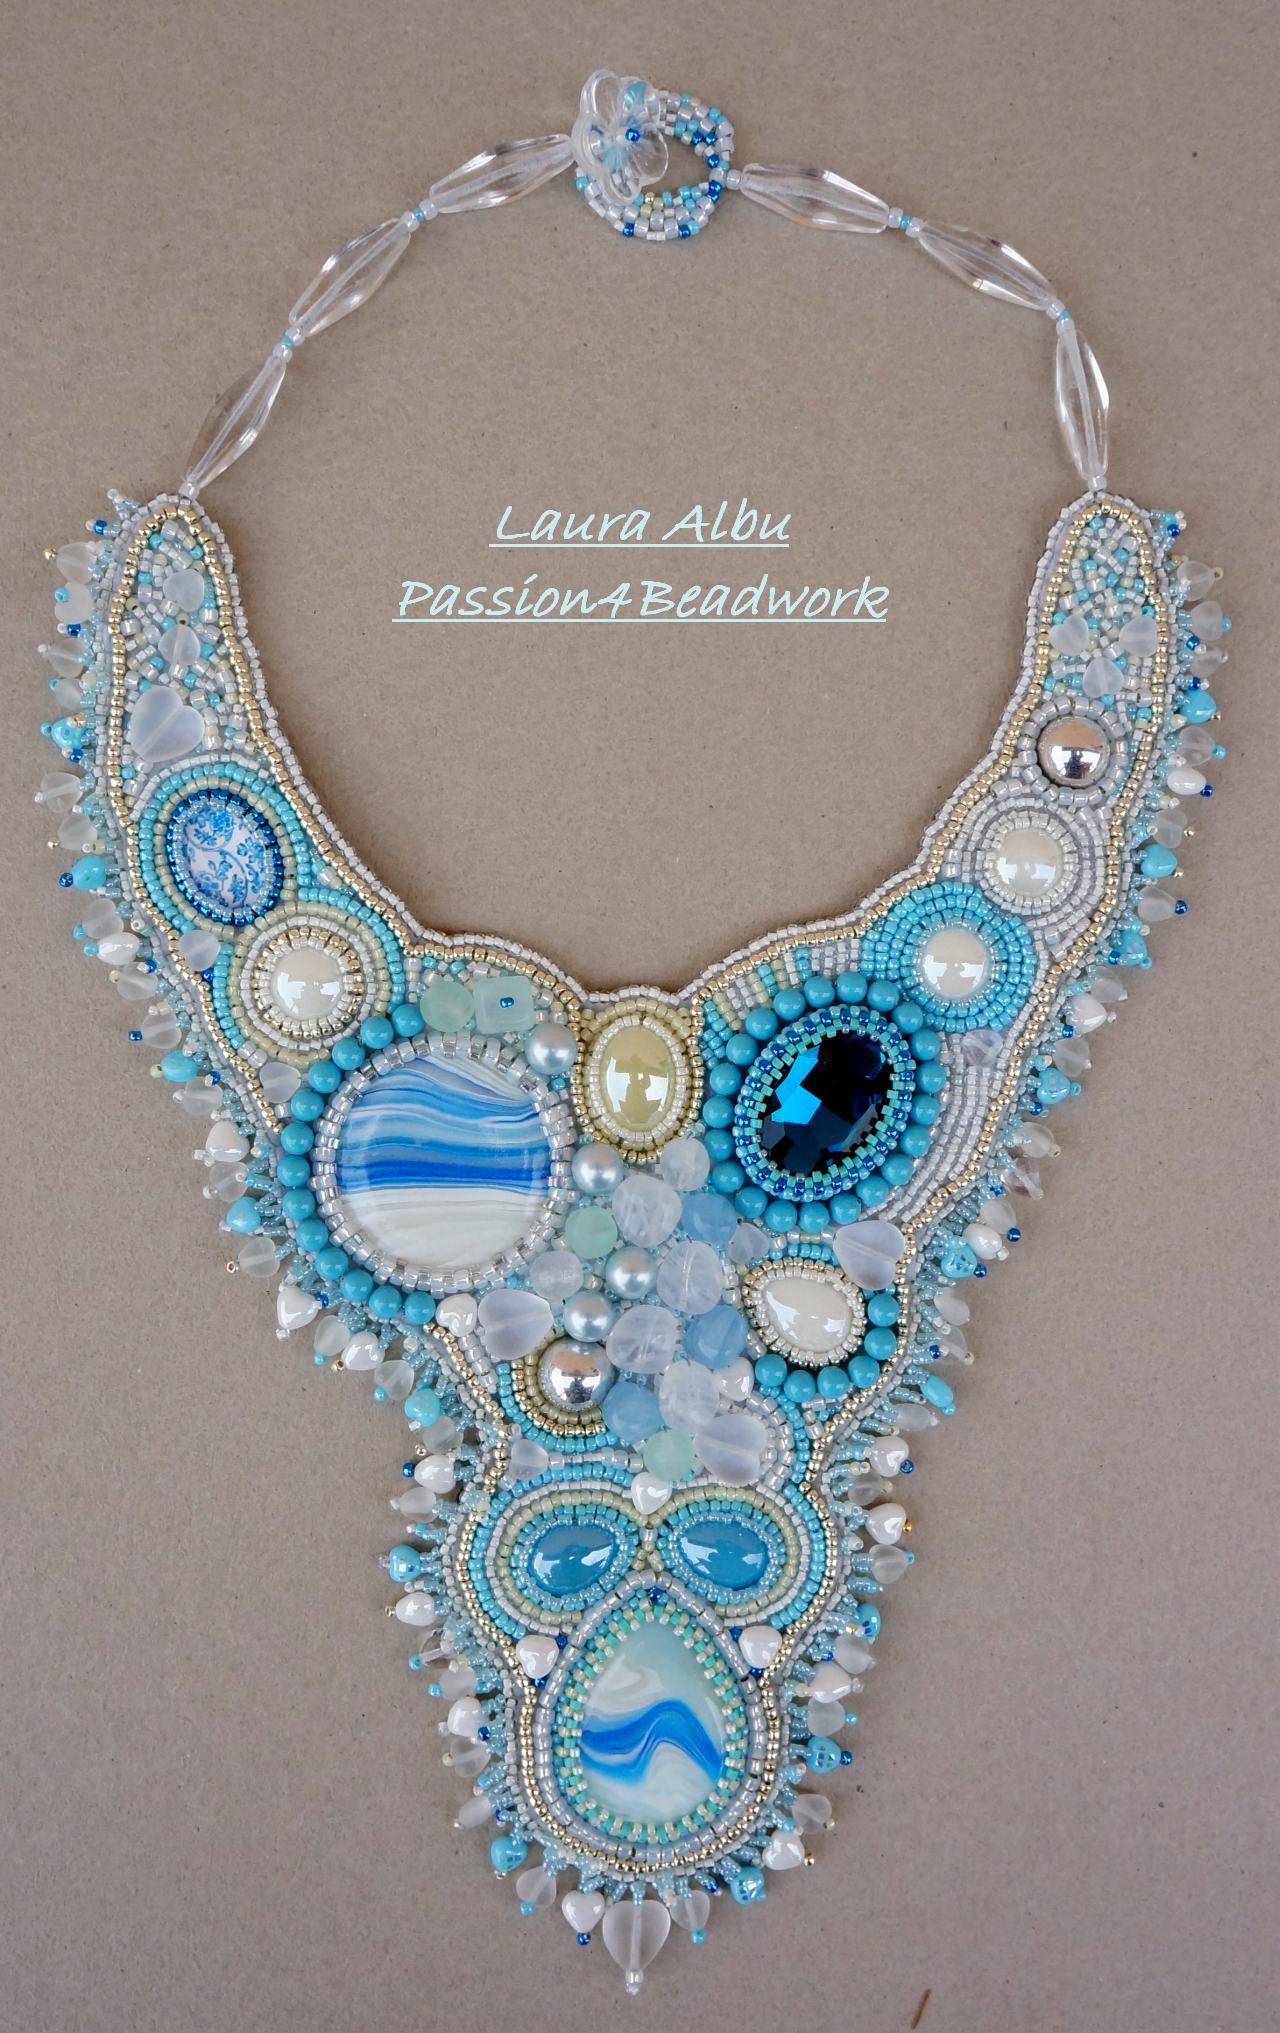
Faceți căutări pe acest blog

miercuri, 16 decembrie 2020

A Necklace for Winter

 I'm always surprised how these things end up, with almost no resemblance to my original idea. Like most embroidered necklaces this has lingered on my desk for a couple of months before I was able to finish it. I estimate I spent about at least 20 hours on it. The two large cabs I made from polymer clay, the rest are glass, ceramic and crystal, the large beads are Czech pressed glass and Swarovski pearls.


miercuri, 18 noiembrie 2020

My first bead embroidery project

 My first bead embroidery necklace completed about two years ago. The central cab I made from polymer clay - it was supposed to be faux fossil coral - I'm not too versed in polymer clay. I used many 15/0 and regretted it while working, because my embroidery needle did not fit through most of the beads and it took a looong time to bead, but it does look good. The most difficult thing turned out to be the backing, because I didn't choose the right material and I did my edging stitches too close to the edges. It seems quite fragile to me, so I keep it just to look at.


miercuri, 11 noiembrie 2020

Blue Lagoon bead embroidery necklace

Another bead embroidery necklace that I made a year ago, this was my third or fourth piece in bead embroidery, and the first one that turned out the way I intended, having had a hard time with aligning the backing properly while sewing the edging.


marți, 8 septembrie 2020

Tila lace necklace

 I have a new tutorial in my etsy shop - a lovely, lacey, feminine v-collar necklace made with square beads (japanese Tilas, czech two hole Tiles or czech Karo beads). 


marți, 30 iunie 2020

Geometric pattern loomed bracelet

This is one of my first loomed projects. I only had a Baby Jewel loom at the time and used every milimmeter of it for this project, after which it sat in a box, because I didn't know how bet to finish it. The loomed portion was too short and I had to find a way to make it into a bracelet that didn't take anything away from the pattern. And finally last week I think I succeeded. It looks gorgeous on the wrist. It is listed on etsy if anyone is interested.


luni, 29 iunie 2020

Garland of Joy Necklace Tutorial

By Laura Albu @ Passion4Beadwork


this has been a long time coming, but here it is: what to do with the comet element


Materials

-          6g 11/0 japanese seed beads total

-          60 (about 5g) superduo beads total

-          30 (about 4 g) Czech 2 hole triangles  total

-          36 (about 3g ) Rizo beads total

-           24 Czech Daggers  (I used 12 15x12mm and 12 6x16mm) and 6 2hole Daggers for the center flower

Plus for stringing: 1g 6/0 japanese seed beads; an assortment of 3mm and 4mm pearls or round beads and four 6mm round beads.

-          Beading thread (Toho OneG)

-          Stringing material: flexible beading wire or tigertail.

-          Two crimps (I used four because I’m a nut) and crimp covers if you have them

-          Clasp and extender chain with charm for dangling on the end


Adding two little ears to each small flower for stringing:


…and to the large flower


Retrace the thread path through these connections to reinforce them.

Decide how long you want your necklace to be. I made mine about 43cm (17in) and also added an extender chain. Measure and cut a length of flexible beading wire or tigertail say 43cm plus  about 12-20cm (5-8in). Begin by stringing the central beads and elements.

 I used the following sequence:


  • ·         4mm, small flower1 ear1, 4mm, small flower1 ear2,

  • ·         4mm, 6mm, 4mm,

  • ·         small flower 2 ear1, 4mm, small flower2 ear2,

  • ·         4mm, 6mm, 4mm, 11/0, 3mm

  • ·         Large flower ear1, 4mm, large flower ear2

Repeat in reverse order .

This is what the back of the necklace looks like:


Next string the rest of your beads in whatever order you prefer symmetrically (or not) for the straps.

When you reach your desired length string a crimp (or two). Strimg an 8/0 and ten 11/0s for the end loops (you will use these to attach the clasp). Alternatively you could use horseshoe shaped wire protectors instead of beads for forming the loop. Pass back through the last 8/0 strung, the crimps and next through as many beads as you can manage (I would recommend at least 4-5cm or about 2in). Take care to leave enough wire to repeat this step on the other side. Snug the beads in the loop and collapse the crimps with pliers. If you have crimp covers and a crimp pliers slide those over as well. Repeat on the other side. Attach the two parts of the clasp with jumprings.

That’s it!


Flame necklace


After a long absence I am back and hope to keep this up for a longer time now. I've been working on a lot of exciting new things and will share some of them here.
I began bead embroidery which I did not have a smooth learning curve with, but now I am enjoying very much. It is time consuming, but the results can be spectacular. This is my latest work that I have also posted on etsy.